
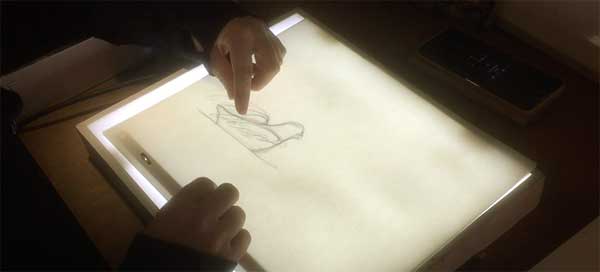
In part 1 we looked at using video reference on your phone as a guide to breaking down and understanding movement. In this post we will work on that sketch to make something more like an animated sequence.
We will be adding in-betweens to change the timing, and to help the audience really see all the movements of the wing. We will create some motion paths to help us make smooth movements, so that we can create a feeling of the roundness of the wing flaps. We’ll also be changing some of the drawings so that we can exaggerate some of the actions of the bird, and be more expressive and clear about the motion that we have been learning about.
Inbetweening (or ‘tweening’) is the process of creating the drawings in between keyframes. It can be used to alter the timing and show more about the movement. For example in the video you can see that early on when the wing moves the action is led by the elbow of the bird, so the tweens will show that to get from one point to another the elbow has to move first, then the fingers.
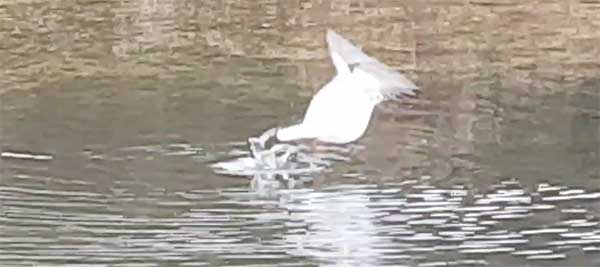
When using video as a reference, it is important to understand that there is a big difference between live action frames and animated ones. Live action is photoreal, and running at 25 (or 29.97) frames per second, so we stitch together what we see to create a completely believable sequence. However when you look at the frames one at a time, two things become apparent.
- There is usually lots of motion blur, so you can’t see the shape of the wing, and this happens even in super-fast slow motion, something will always be blurred.
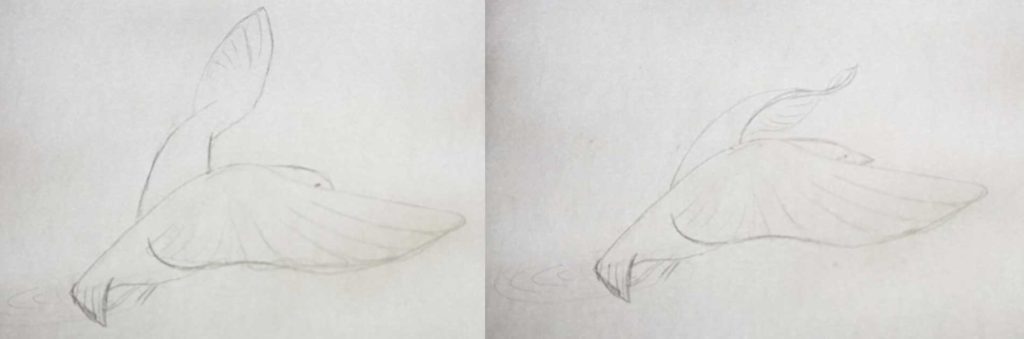
- There will be ‘impossible frames’, which are positions that just look wrong, shapes that look odd and don’t explain anything about what’s happening.
If we are doing line animation we don’t really have the luxury of motion blur to hide anything that we can’t see. Neither can we get away with shapes that don’t look right. You can see towards the end of the video that in one test I have included these impossible shapes and it feels wrong. Compare that to the sequence with more clarification in the drawing on what’s going on. It feels a lot better. When something is not that apparent in the live action you need to find a way to convey it to the audience. Drawing is about communication and in animation drawing is how we communicate movement, so each drawing has to be helping to convey that part of the movement.
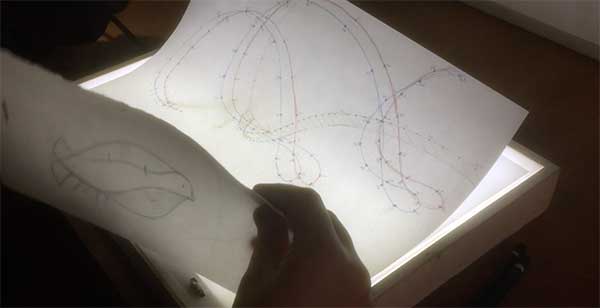
A movement sketch will probably end up having some inconsistency to the flow of movement. We can sort this out with the help of some motion paths. We can use the sketch we have to work out the current path, and then adjust it to suite what we want to achieve with that motion. Motion paths are a great way to create smooth flows of movement. However you can overdo it at times, because when overused they can do away with any extremes which can actually add to the liveliness of the piece. You can see the motion path I used for one of the line tests, and you can see that the motion is too smooth, and lacks drama. So remember they are a great tool, but use them wisely, and change them when you need to. They are only guides.
Remember to keep line testing to check how each alteration of the sequence is working. Most importantly keep going until its right. It might take several goes before your happy with it, and you might want to get more reference footage to check it with. After each line test, make sure that you scrub through to check how it all looks and make some constructive criticism for yourself, if you feel something is not right, keep looking through until you figure out what you need to change.
Thank you for your time, I hope this post has been helpful, leave a comment below.
Brilliant video Lucy !!! really inspiring
Thanks Patrick! Glad you enjoyed it and thank you for leaving the comment to let me know!